

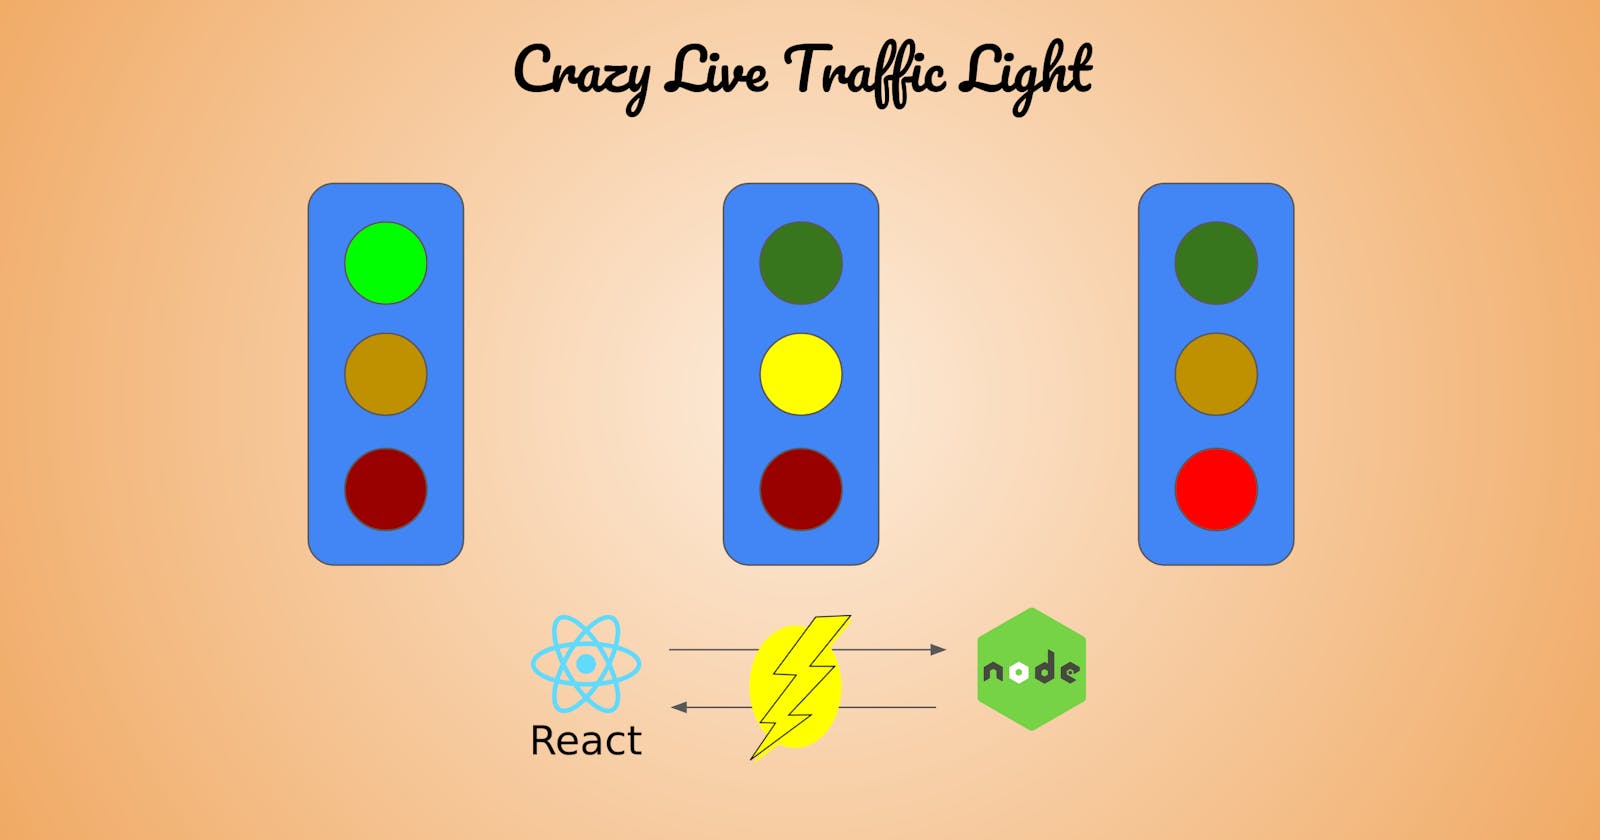


Live Crazy Traffic Light With Kafka Integration
This is a two parts tutorial that creates a Front end React app and a Back end event server that will be used to update the component status running in React. In the second part of this tutorial we will cover adding Kafka to the mix and create a Producer to generate messages and a consumer to read messages from Kafka to simulate a real distributed architecture between different microservices.
The topics are broken as below:
Part I:
- React App with Traffic Light Component
- Express/NodeJs Event Server
- Live Update the traffic light status with Server Sent Events
Part II:
- Run Kafka locally using containers (Optional)
- Build Kafka Producer
- Build Kafka Consumer
- Live Update the traffic light from Kafka
React App with Traffic Light
This is our UI web application that has the Traffic Light component that we will update it's status later, this should be very simple if you are familiar with React.
npx create-react-app react-traffic-light- once the application is created we start will create 2 functional components:
- TrafficColors: this is the components that will be used for each of the three lights (Green, Yellow and Red)
- TrafficLight: This is the complete traffic light body.
Traffic Color
Create a new file with the name TrafficColor.js and add the following code
   import React from 'react'

   export default function TrafficColor({ color, status }) {

      let myStyle = {
        width: "10vh",
        height: "10vh",
        backgroundColor: color,
        padding: "10px",
        borderRadius: "50%",
        };
    if (status === "on") {
        myStyle.filter = "brightness(200%)";
    }
    if (status === "off") {
        delete myStyle['filter'];
    }
  return (
    <div style={myStyle} >

    </div>
    )
}
The code snippet above will generate a circular div that takes 2 inputs (color and status). color will determine the light color (Green, Yellow or red) status: will determine if the light is on when we bump the brightness up or when the light is off when the brightness is removed.
Traffic Light
Create a new file with the name TrafficLight.js and add the following code
    import React from 'react'
    import './TrafficLight.css'
    import TrafficColor from './TrafficColor'

    export default function TrafficLight() {


    const [state, setState] = React.useState({green: "off", yellow: "off", red: "off"})
    const crazy = React.useRef(false)

        return (
            <div className="body">
                <TrafficColor color="darkgreen" status={state.green}/>
                <TrafficColor color="goldenrod" status={state.yellow}/>
                <TrafficColor color="darkred" status={state.red}/>
                { crazy.current && <div style={{ "font-weight": "bold" }} >CRAZY</div> }
            </div>
        )
    }
This component will return the traffic light body with 3 different Traffic Colors, each one is created with a different color (darkgreen, goldenrod, and darkred). The reason for not choosing the normal green, yellow, and red is to make the change in brightness visible.
The component has a state hook for state, which is initiated with are turned off and a ref hook for boolean crazy that is used to show the word "Crazy" when it's current value is true.
We can add the "body" CSS class in the file TrafficLight.css as follow
.body {
    display: flex;
    flex-direction: column;
    align-items: center;
    justify-content: space-around;
    min-width: 150px;
    min-height: 300px;;
    width: 20vh;
    height: 40vh;
    border-radius: 3rem;
    background-color: blue;
}
Add TrafficLight to App
Now we need to add our traffic light to the main React app and we can simply do this by adding the JSX <TrafficLight />.
Note: I am adding my traffic light to the default react page just after "Learn React" Link but you can get rid of all the generated code and just keep the Traffic light.
Also don't forget to import Traffic light at the top of App.js file as follow import TrafficLight from './TrafficLight';
Now give it a test and run your react app using npm start and make sure you can now see the traffic light as in the figure:

Build the Event Server
Since we have our traffic light ready we need to send events to update the status of the traffic light. To achieve this I will be using a protocol called Server Sent Events.
Server Sent Events use HTTP protocol to send multiple events and keeps the connection open to receive multiple events. It is similar to WebSockets but it works one way of communication from server to client.
We will generate an express server to help us do the job.
To generate the express server use the command
express event-serverand then change directory to the event-server created directory and then runnpm installSince we have our react application running on port 3000, we need to change the express server to run on another port to avoid conflict. Go to
bin/wwwand change the port on line 15 from3000to8080- Run your application and make sure it is reachable using
http://localhost:8080from your browser. You should see the Express Welcome page.
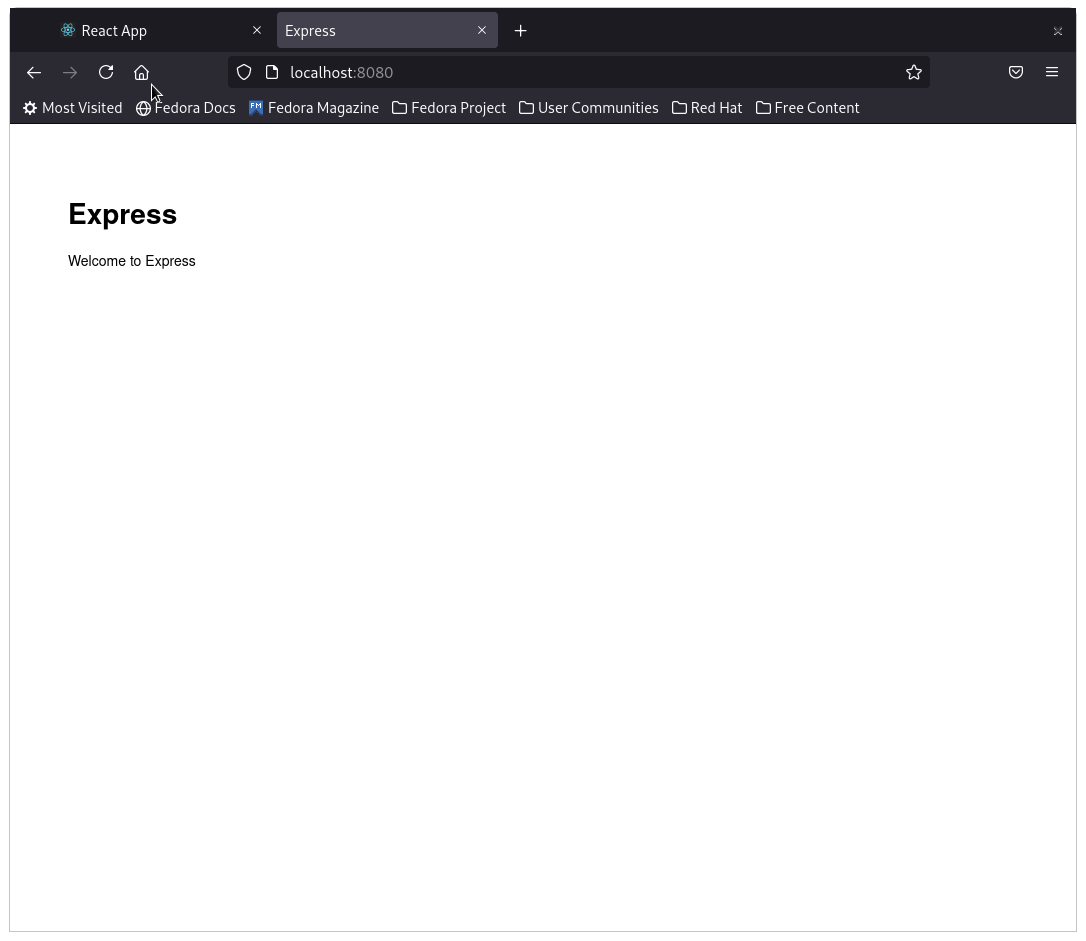
Now open routes/index.js and replace the code with the following:
 var express = require('express');

 var router = express.Router();

 /* GET home page. */
 router.get('/', function (req, res, next) {

 res.render('index', { title: 'Express' });
 });

 router.get('/stream', async function (req, res, next) {
 res.set({
     "Content-Type": "text/event-stream",
     "Cache-Control": "no-cache",
     Connection: "keep-alive",

     // enabling CORS
     "Access-Control-Allow-Origin": "*",
     "Access-Control-Allow-Headers":
     "Origin, X-Requested-With, Content-Type, Accept",
 })

 setInterval(() => {
     res.write(`data: ${JSON.stringify({green: getData(), yellow: getData(), red:getData()})}\n\n`)
 }, 3000)
 });

 function getData() {
 let state = ["on", "off"]
 const randIndex = Math.floor(Math.random() * state.length);
 return state[randIndex]
 }

 module.exports = router;
The code above will add a new route
/streamwith the following functionality:- It will set the headers to allow CORS
- Content-Type header will be set to event-stream to tell the client to keep the connection open
- setInterval function will send event every 3000 ms (3 secs)
- The response sent is string data in the the form of JSON similar to the below: data : { green: "on", yellow: "off", red: "off" }
- the status of each color is randomly generated by the function
getData()
Now go to your command line start your event-server application and if you open another terminal run
curl localhost:8080/streamyou should see output on your screen every 3 seconds as follows:
curl localhost:8080/stream
data: {"green":"on","yellow":"off","red":"off"}

data: {"green":"off","yellow":"off","red":"off"}

data: {"green":"off","yellow":"off","red":"on"}
Live Update the traffic light status
We managed to create our UI App and we created our backend server and now we need to integrate them together to see the traffic light changing live. To update the component status and cause it to render we will use the useEffect hook to start the connection to the server and act upon every new event (status) sent.
Go to the Traffic Light Component in TrafficLight.js and add this code snippet before the return function:
  React.useEffect(() => {
    let eventSource = new EventSource("http://localhost:8080/stream")
    eventSource.onmessage = e => {
      let status = JSON.parse(e.data)
      if (status.green === status.yellow && status.yellow === status.red){
        crazy.current = true
      }else{
        crazy.current = false
      }
      setState(() => {console.log("Traffic Light Set Status to "+ e.data); return status})
      console.log(status.green)
    }
  }, [])
The code snippet above is adding a useEffect hook that will be triggered only one time when the component is initially created. It creates an event source pointing to our event-server http://localhost:8080/stream.
On receiving each message, the application will parse the string into JSON object status, and will update the state to be equal to the received data.
The if statement in the code above will check if all the lights are on or all of them are off and it will update the crazy.current value, and in turn this will print the word "Crazy" at the bottom of the traffic light.
Now re-run your react app and make sure your event-server app is running at the same time and you will start to see the traffic light going crazy and lights going on and off every 3 seconds. You can also open the developer tools which will show you the received event from the server.
At this point we have already implemented the required functionality. But in reality the status will not be updated randomly and the event server could be reading data from other sources. In reactive distributed architectures something like Kafka will be handling the messages between different microservices running your application. If you wanna learn about that, join me in the next part of this tutorial to add a Kafka Producer and Kafka consumer to our express/NodeJS event server.